Slatwall is one of the most versatile and widely used retail fixtures on the market, but a successful slatwall installation depends on proper planning and technique. Whether you’re outfitting a new store or upgrading an existing space, understanding the installation process helps ensure a clean, professional, and durable result.
Why Proper Installation Matters
Slatwall panels are designed to hold significant merchandise weight through their grooves, but that holding power depends entirely on how well the panel is mounted. A poorly installed panel can lead to:
- Sagging or uneven panels
- Reduced weight capacity for hooks and shelves
- Visible gaps or misalignment between panels
- A shortened lifespan for the fixture
Taking the time to install slatwall correctly protects your investment and creates a polished, professional retail environment.
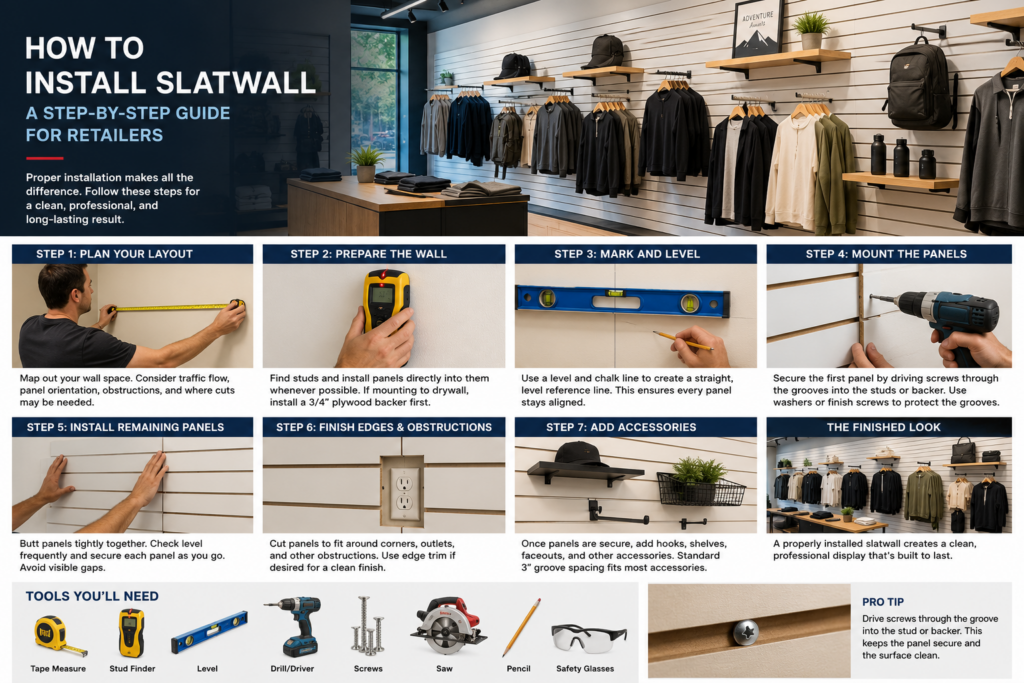
Step 1: Plan Your Layout
Before any panels go up, map out your wall space. Consider:
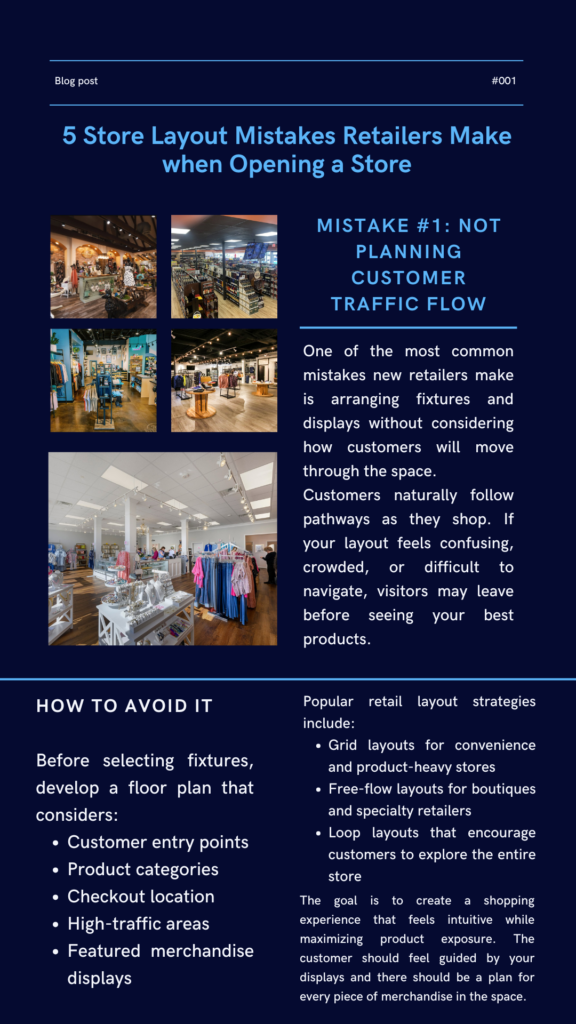
- Customer traffic flow and sightlines
- Panel orientation (horizontal grooves are standard, but vertical orientation is sometimes used for visual interest)
- Where panels will need to be cut to fit corners, columns, or irregular wall sections
- Electrical outlets, light switches, or other obstructions
If you are in need of help getting your layout designed, fill out our store design estimate form and we will assist you as soon as we receive your questions.
Step 2: Prepare the Wall Surface
Slatwall panels need a flat, stable surface to mount to. For best results:
- Install panels directly onto wall studs whenever possible
- If mounting to drywall, use a 3/4-inch plywood backer first to create a flat, level surface with adequate screw-holding strength
- Confirm the wall is free of moisture issues, especially in basements or older buildings
Step 3: Mark and Level
Use a level and chalk line to mark a straight, level starting line across the wall. Every panel installed afterward will reference this line, so accuracy here is critical for the entire installation.
Step 4: Mount the Panels
Starting from your reference line:
- Position the first panel and secure it with screws driven through the grooves into the studs or plywood backer
- Use washers or finish screws designed for slatwall to avoid damaging the groove edges
- Check for level after securing each panel before moving to the next
- Butt panels tightly together to avoid visible gaps, unless your design calls for spaced panels
Step 5: Install Trim and Edge Pieces
Matching edge trim gives the installation a finished, professional look by covering raw panel edges at corners, ends, or transitions to other wall materials.
Step 6: Add Hooks, Shelves, and Accessories
Once panels are securely mounted, you’re ready to add hooks, shelf brackets, faceouts, and other accessories. Standard 3-inch groove spacing means most accessories will fit seamlessly across any properly installed slatwall panel.
A Few Pro Tips
- Always test panel placement before permanently securing it
- Keep merchandise weight in mind when choosing between standard and heavy-duty brackets
- For large installations, consider working with a contractor experienced in retail fixture installation to ensure a clean, efficient result
A Quick Video Guide on how to install Slatwall
Need Help Planning Your Slatwall Installation?
At Creative Store Solutions, we don’t just supply slatwall — we help retailers choose the right panels, finishes, and accessories for their space. While we don’t provide on-site installation services, our team can offer layout guidance, fixture recommendations, and complimentary store design support to help your installation go smoothly.
Ready to get started?
Contact Creative Store Solutions today to explore our full range of slatwall panels and retail fixtures.
Call 800-571-3301 or email [email protected]










 The rich sophisticated look of Textured Slatwall – Designer Slatwall transforms your dull drab wall into something special. Slatwall has been around since the 80’s and almost every mass retailer, small retailer, or mid size is using the same boring product. White 3″ on center 4′ long x 8′ wide times about a billion sheets adorning the walls of every other store open today.